As I started progressing further along on the old bushcraft journey in earnest I purchased the odd piece of kit ahead of getting the chance to use it when the opportunity presented itself, a Ronnie Sunshine 4 litre Dutch oven (a 'Dutchie') was one such purchase.


One of the earliest times I saw one in action making a meal was when JP used one on the very first Woodlife Trails 'wild camp' which they run for the National Trust in Hatfield Forest. It was a chicken curry for the record and rather fine in the outdoors.

Fast forward a few years and I, quite accidentally, began doing regular articles for Scouting magazine and lined a Dutch oven one up having got to grips with them on my own, with family and with our Cub Pack. Well the editor I worked with left for pastures new, I did an email hand shake with the new one with a 'We'll be in touch' reply but I never heard back. The article writing therefore stopped, about the same time as started this blog as it goes.
It therefore seems a shame to leave it sitting in note form and the pictures on my laptop. I've added some more content because whilst the magazine's Get Active! pullout is a good idea, it does limit article size (the paracord one I did went in the first ever issue and had to be cut with the rest going online. Try this fuller paracord article). I'm no expert but I do love using a Dutch oven. Oh, and the name is though to have derived from superior castings from Holland...Well it's one of several suggestions I've heard anyway.

You can buy them from several reputable outlets and there are several checks to do but the most important ones are to make sure that it has legs to lift it up from the coals, a bail arm (handle) that moves freely across 180 degrees and a rim around a well fitting lid. Whilst most will come seasoned (oil heated into it's surface) it is a good practice to redo it.
There are variations on this but start by pre warming a Dutch oven and then carefully coat the inside with vegetable oil (don't use animal fats). The oven will need inverting over a fire to have a good smoke for 45-60 minutes and when it has cooled, wipe away the excess oil. As the seasoning builds up the Dutch oven will almost be non-stick. Do the same seasoning process for the lid too, it too can be used as you'll see later. It's best done outside because it will generate a lot of smoke.


I've included a fair spread of Dutch oven pictures showing it's many uses and dishes but the first picture above is a typical shot of a Dutch oven in use and the one next to it shows an early usage by me (making a bread). You'll note that I've lined it with foil which a lot of people do but some see it as being against the whole idea of using one in the first place. I don't anymore but do occasionally use parchment paper.


Whilst it is a great vessel for cooking a stew or a casserole it can easily do things like soups, rice, puddings, boiled eggs, chilli con carne, bread, roasts and stir fry amongst other. The two pictures above show a 'man mountain' all in one breakfast which is a mix of things like sausage, bacon, chorizo, whole tomatoes, chopped potato and mushrooms (yuck) which are pre cooked and then a large volume of eggs added to make it a really filling start to the day. The chap spooning some out is Mike Rushton from Tamarack who was guesting at a Gilwell 24 bushcraft base.

This was the first Dutch oven stir fry I ever had and it was on a Woodland Ways bushcraft weekend...Note, absolutely no mushrooms cross my lips (well, apart from this) so I had my own personal Dutch oven dinner! There is another stir fry method later on...


I mentioned earlier about making sure that the lid has a rim, well this is to hold embers on the top when cooking to get heat into the top part of the oven and a rim holds them there if you have to move it for any reason. Note in the above pictures that barbecue briquettes and campfire embers have been used. Also note that the bread I cooked tasted as good as it looks and that I've used parchment paper instead of tin foil. If something is cooking for a while I usually turn the oven a quarter or half turn, and the lid if loaded with embers which helps to spread the heat about evenly. When placed in a fire try and keep the handle as upright as possible which helps keep it cool.
Some delicate things like bread often work well if you cook them in an inner raised pot rather than straight in a Dutch oven because the cast iron ovens really do get hot and with embers right up against the base you run the real risk of getting a burnt (bread) bottom, not the end of the world but a pain nevertheless. Raising it on a small round metal skillet or stones (not wet ones, flint or concrete) can help to elevate this. The bread above was kneaded and then divided and shaped into five individual balls and put together to make it a 'tear-and-begrudgingly-share' style loaf. One thing you may get is a Burnt bottom if you cook bread in the Dutch oven itself.


Whilst on the subject of breads this series of three pictures shows the versatility of the lid. the top picture shows two 'Dutchie' lids upturned with bannocks (small, usually unleavened breads) cooking on them, and two below showing sausages and an alternative stir fry method being employed. If possible, try and jack the lid up a little on some logs to keep the embers underneath from being smothered. The World of Bushcraft does a useful looking range of Dutch ovens which has triangular fixings to stabilise the lid and indeed, it's own little handles to aid lifting.

Cooking a one pot roast is fairly straight forward, as you can see, the roast is well on the way to being cooked and the vegetables are added at the appropriate time before the end of cooking.


The four pictures (above) pretty much give a flavour (no pun intended) of some of the other things this versatile piece of kit can to. Clockwise from the top:- Hearty soup, crumble, popcorn and chilli con carne (the latter picture also appears on page 156 of the Outdoor Adventure Manual).


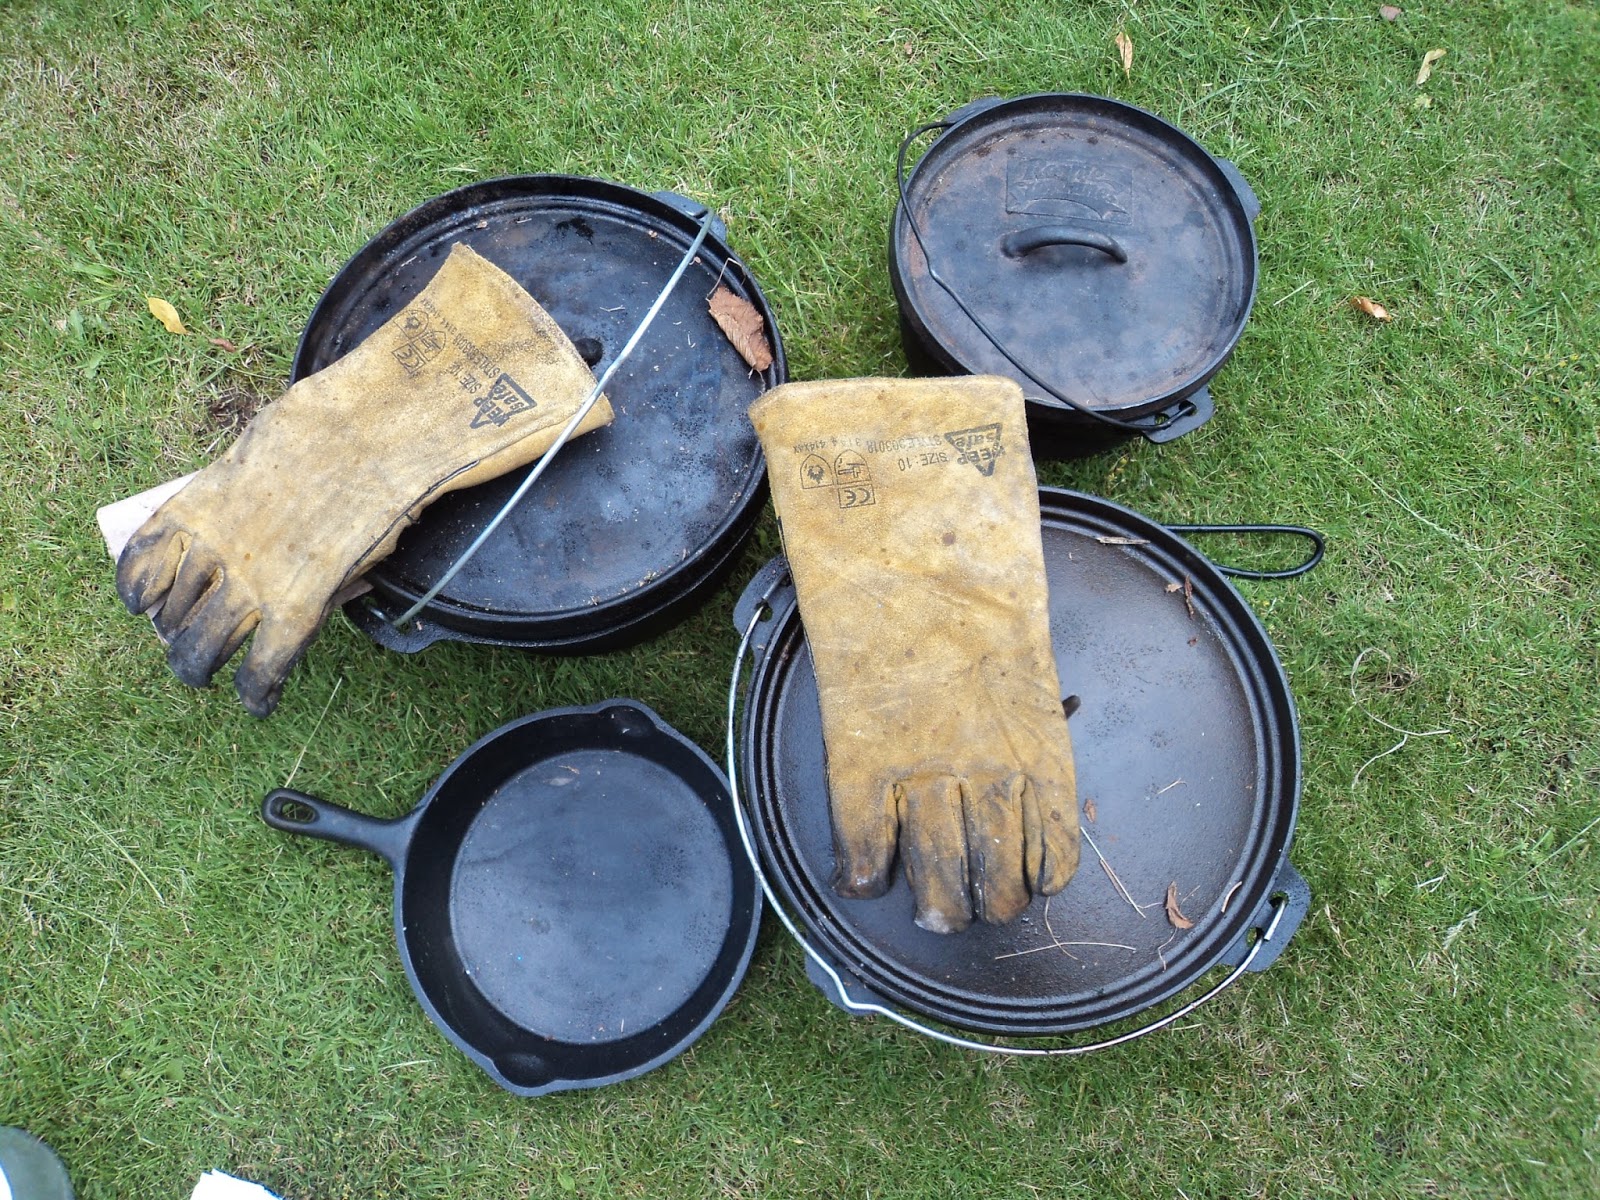
There are some additional pieces of kit that can be used in conjunction with a Dutch oven. you can buy metal lid lifters and trivets for placing a lid on whilst cooking but I've either used a homemade metal pot lifter (which can be seen in the 'tin foil' bread picture towards to top), or a stick with one end carved to a chisel point with a knife. I usually prop the lid upside down against a large log. A trowel or trenching spade is also handy for putting embers around the oven and on the lid and gloves are vital for handling such a hot and potentially heavy beast. Those in the picture above are welders gloves which are reasonably cheap and offer extra protection to the forearms.
The pictures above show homemade and blacksmith made tripods which, obviously, lift the Dutchie up and down to control the heat it receives. Note the string tied to the tripod which makes an easy way of lifting the boil-in-the-bag rice. Then there's the washing machine drum fire pit which can usually take a Dutch oven in the top due to it's sloping sides, and a hay box for slow cooking. This can be a sizable hay filled wooden or cardboard box into which a hot Dutch oven and it's contents are placed in the middle and re-covered to slowly cook away. Sometimes it may be necessary just to rewarm it slightly. Make sure no embers go in at the start! Click here for further hay box information.

A Dutch oven really does have a multitude of uses which this blog page has touched on. One final use? Yes, a Dutch oven is just at home in a kitchen oven or on the hob and looks especially impressive if you are having a cowboy hotpot. Just be mindful of the legs being placed through the grill, and be very careful you don't scratch a hob if you choose to cook on it. Whether used in a fire, oven or hob do beware of the fact that they not only get hot but stay hot a long time after they are removed from the heat source.
I've mentioned Woodland Ways a few times in this blog and one final word is to recommend their Dutch oven cookery book which not only has plenty of ideas but goes into far more details about the history, variations and and technical side of things than I have.
If a Dutch oven is well seasoned caked on food shouldn't be too much of an problem. If there are some issues then fill it with water and leave to simmer in the fire until the food floats off. Re-season, or at least wipe with oil clean off the excess and store dry with a gap between lid and pot (wedge a rolled piece of newspaper in between). Don't leave an oven on a fire empty.
Anything else to try? Yep, Try a slow cooked meal in a hay oven with the added advantage of a Dutch oven without burnt on food, and I've never done it but you they can be stacked on top of each other with coals below and on top to do a full meal (with appropriate timings).
No comments:
Post a Comment