
It's not often that I will get distracted on my run but the sight of what turned out to be around twenty pristine Giant Puffball mushrooms (Calvatia gigantea) did just this the other week.
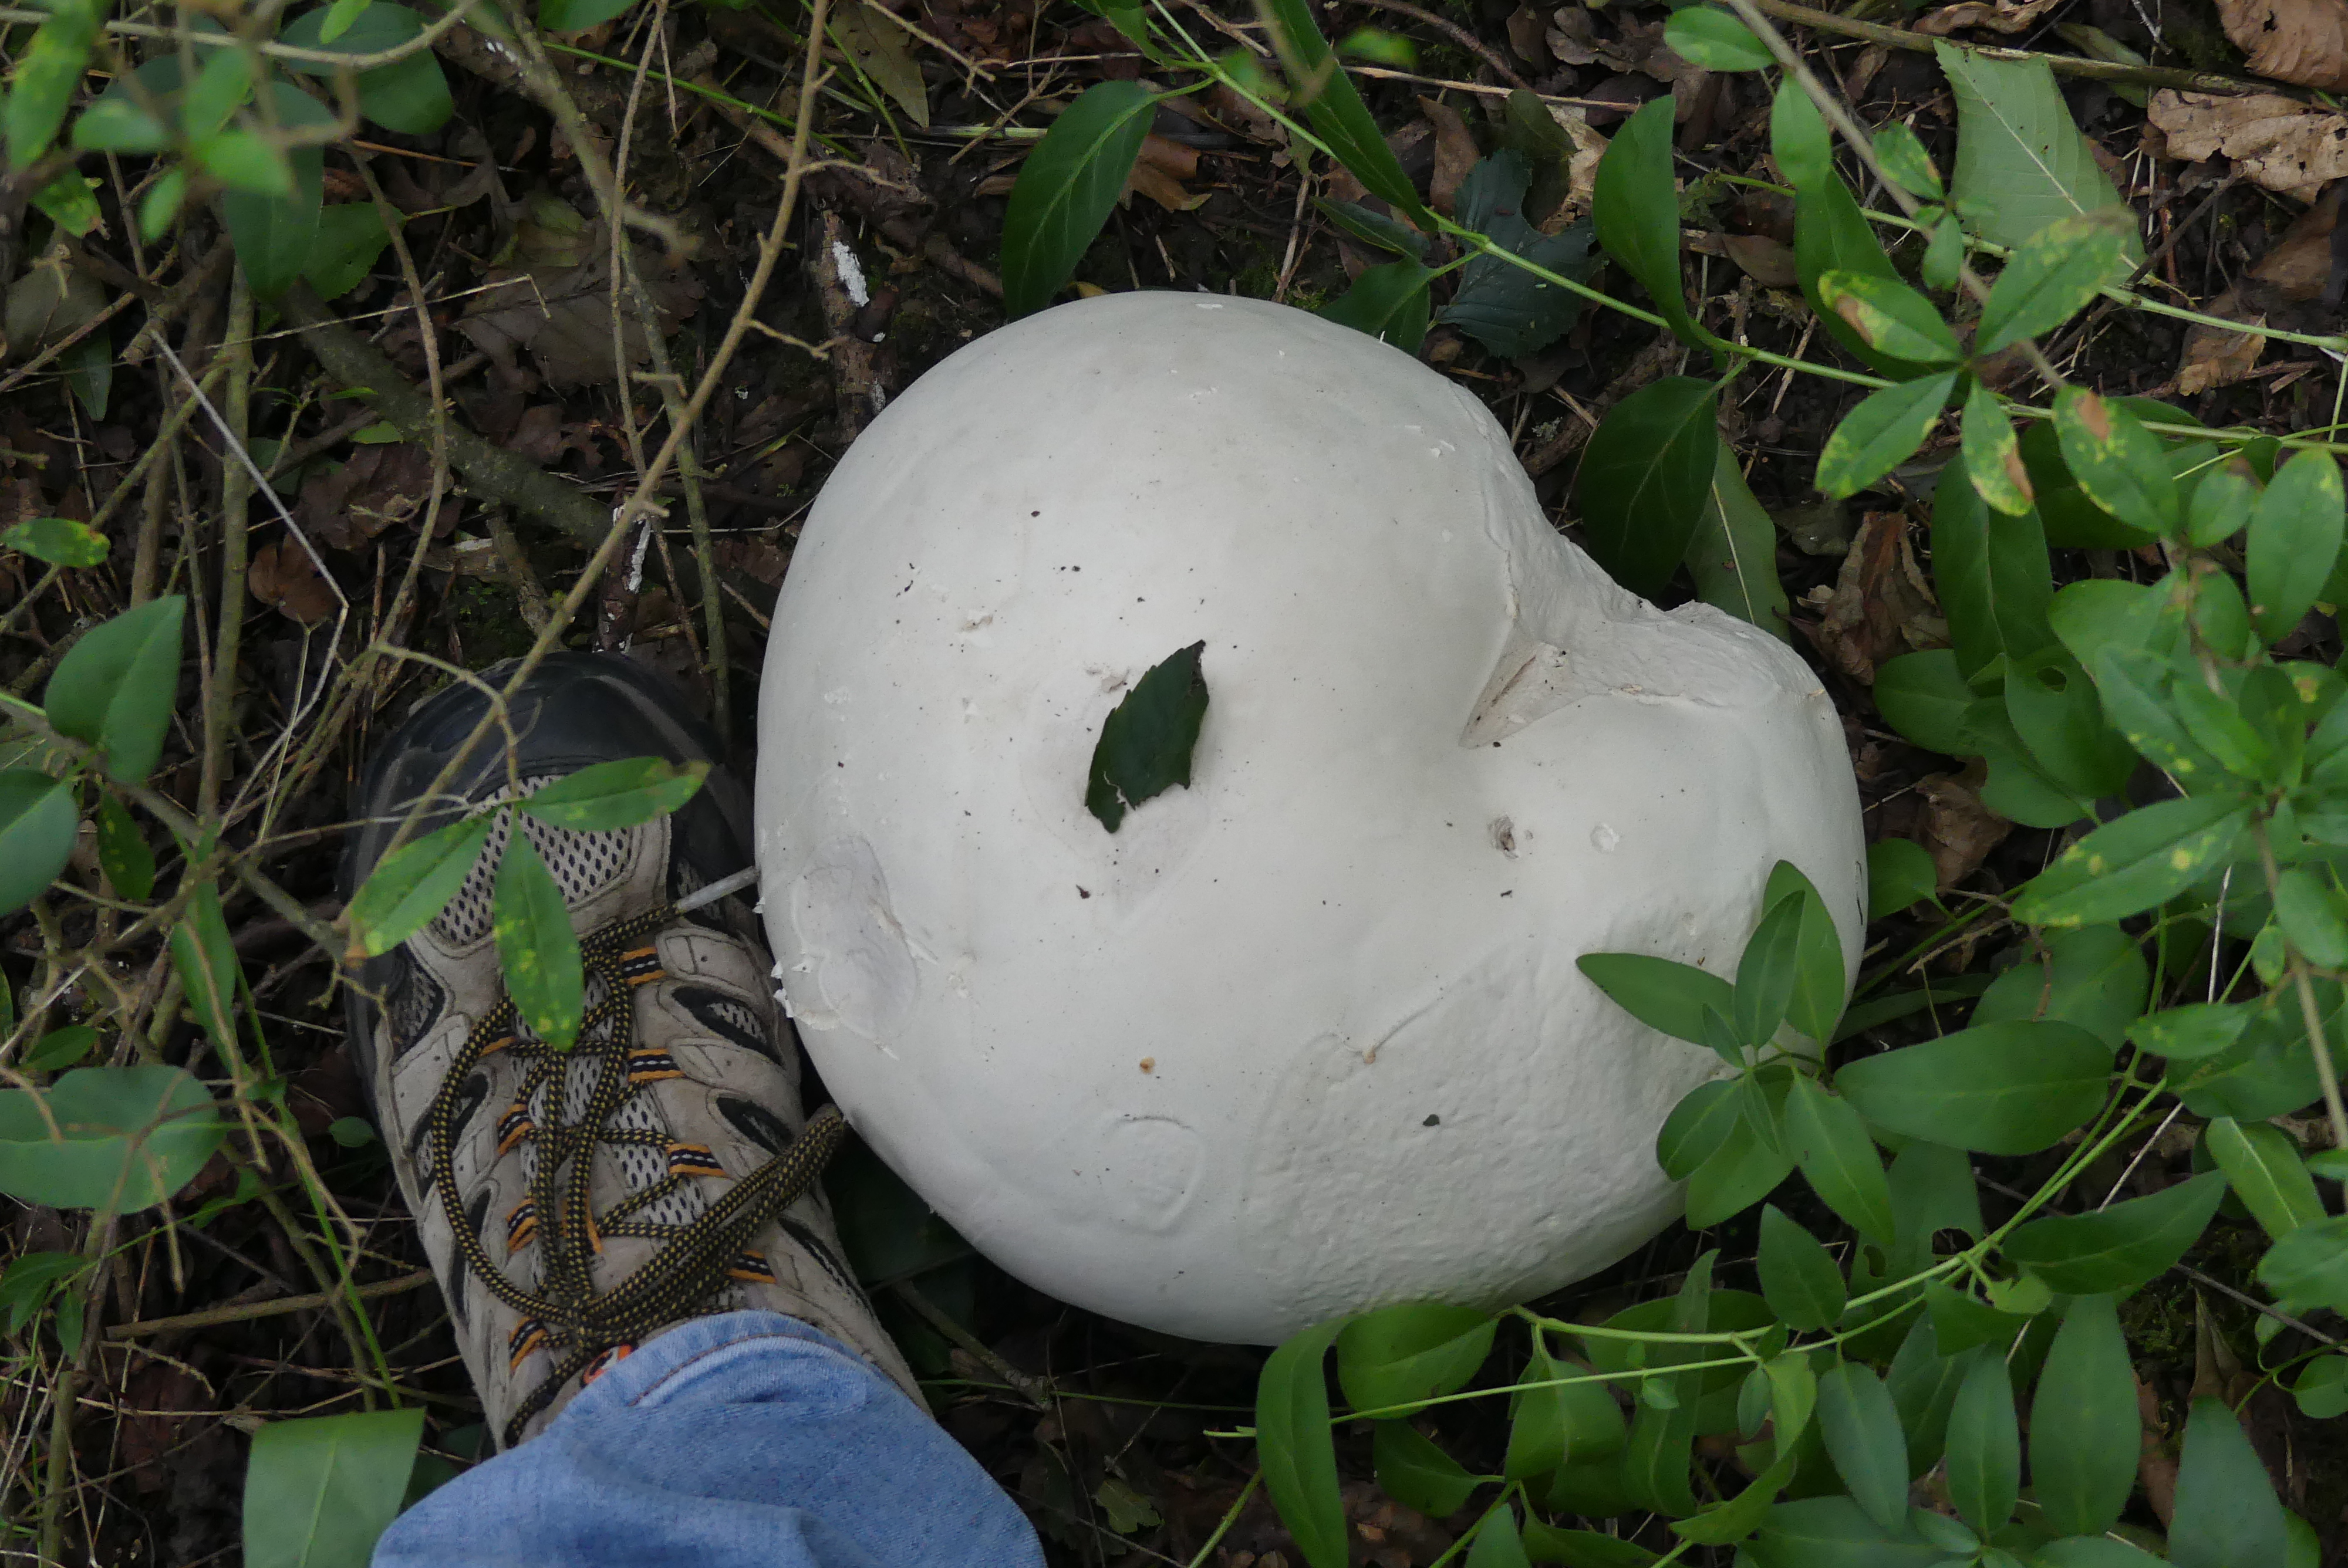
They were all of a harvestable size with the biggest being football dimensions. Upon closer inspection of the site I also discovered some excellent looking Parasol mushrooms (Macrolepiota procera) too.

I am really not a fan of mushrooms (since forever) but the exceptions to this are that I occasionally like making this bushcraft confectionary and I tried some spicy Beefsteak Fungus Jerky on this Roger Phillips mushroom foray and with the latter in mind I decided to take a small portion of one on a forthcoming camp to see if I could replicate it.
Whilst the cast iron caveat is always make sure that your identification is 100% correct the Puffball is as bombproof as IDs go when they get to a decent size as they have no stalk, cut with a 'squeak' and look rather like a slice of Mozzerella.


Despite not liking mushrooms I did pan-fry my wife and I a bit in seasoned butter and despite the mild taste it still didn't do anything for me. My wife thought it was OK but found the texture a bit too foamy for her liking which stands to reason as almost all the cooking suggestions I've seen suggest a strong partner (like pesto) or well seasoned breadcrumbs.


I sliced my bit as thinly as possible (as you do with jerky) and left it out on kitchen roll to dry overnight which it did rather noticeably. I wouldn't be surprised if a bit of dried Puffball wouldn't make a decent strop if fixed to a board, much like Birch Polypore (Fomitopsis betulina).

With the need for strong flavours in mind I prepared my favourite beef jerky marinade which is soy sauce, fresh grated ginger, garlic, five spice and dried chilli.

As I'd prepared it the night before heading for camp I simply left it in the fridge overnight to re-hydrate and took it away in a tied plastic bag.

I opted for a simple setup which involved a Hazel tripod placed over a collapsible Honey stove into which I placed some embers topped up occasionally with fresh Cherry branches and soaked Oak chips. Typically the moment I got it underway with the drying and smoking I had issues with an annoying breeze.


Now meat jerky is fairly robust and you can pretty much leave it to it's own devices but I wasn't sure what to expect with this 'shroomy experiment so I made sure that I was back and forth.
To be honest it was just OK, it had a rather fragile texture and although some of the flavour had been absorbed it felt like a lot of the sesoning was crusted on the outside. Certainly not unpleasant but I won't rush back to it as a jerky or mushroom but hey, you've got to try these things.
Interestingly when I did my run two days later I noticed the bigger ones had gone and the rest had been kicked in.


