Showing posts with label bow drill. Show all posts

Sunday, 21 June 2020

Salmon Skin Leather Powered Bowdrill


My Youtube Version of my exertions

Since first making salmon skin leather I've had some of the more obvious projects in mind such as pouches and sheaths, but I also had an eye on trying making some cordage to power a bowdrill to get an ember.


 I made two sorts of cordage, one was a strip like a thong and the other was a twisted one which I initially left with some spare to reload and overcome a breakage but latterly I decided to double up for strength, I also fashioned a chunky loop one end to slide onto a bow.. I found myself with some time on my hands and decided to have a crack in the woods and took my camera along. 


I selected a trusty  bowdrill combination of Lime and Hazel for the set, it wasn't a session trying to do a set from scratch or whatever, it was simply an experiment with a view to seeing if salmon cordage could power a set to an ember. Note that there are two drills in the above picture, they are of slightly different diameters because I wanted to be prepared that if I tied the cordage in place and couldn't undo it to make adjustments I had two slightly sized options which may fit.


After a fair bit of fannying around I did the slide test to see that I had the drill locked in. If you can grab the drill and slide it up and down the bow string it isn't in tight enough.


I have to say I was a bit apprehensive and I let my stance and technique become a little tardy and I was rather tentative as I started bedding it in. However so far so good.


After cutting the notch to receive the ember I cut a forty five degree angle on the two bottom edges of the notch, this is something that is usually done in damper conditions but I'd already decied that even if and when I reached the point that I thought a viable ember had formed I was just going to keep going until I couldn't give any more so the potential excess powder had somewhere to go other than out.


And to the final action. I was pleased when I started to get copious dark powder and those satisfying wisps of smoke curling up the drill. You may recall the loop that I put into the twisted cordage, I narrowed the end of the bow to slip it on and drilled a hole at the other end to accomodate using a simple overhand which gave me a fat stopper knot, hence the fact that you can't see any cordage wrapped around the drill in the above picture.

You can also see a lighter area in the middle of the drill, even though it was tight at the start it did  have the occasional slip, I wonder if it's both due to it's slightly elastic nature and the fact that the drill bark, on closer inspection, was a bit smooth and shiny.

I have to say that I was pretty knackered by the time I threw in the towel.


But I'd got sustaining smoke-just. I reckon I must have generated the smallest ever amount of 130 degree viable dust that needed careful nuturing to get it to coalesce into a useable coal.


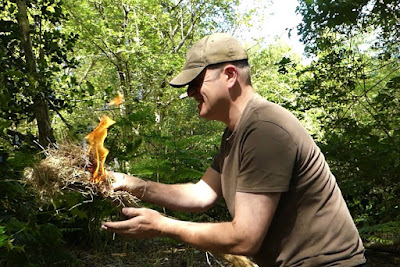
Having got to the stage where I had a proper coal it would have been silly not to see it out to a proper tinder bundle conclusion.


After a well earned and extended break/ breather for a brew, I can usually talk whilst bowdrilling but as I'd gone hell for leather I was puffing rather a lot, I started to look at the strip of leather setup. Having squeaked a result with the first combination I looked on this a something of a  free hit. The only changes I made was to use two limpit shells as a bearing block as opposed to a wooden one, and I abraded both drills a little to take away the smoothness a tad.


It didn't start particularly well as the cordage snapped near the handle end. I'd tied a small length onto the main piece as I figured the bit where I was holding the drill is unuseable cordage and extending it gave me more working length. 


I drilled a hole in the bow and just used the knot that joined the two pieces as an anchor. Bedding in was going well but then disaster struck and the cordage broke in the middle. I'd got my  answer, twisted cordage was the way forward on any subsequent attempt.

It wasn't the smoothest of bowdrilling sessions ever but having ticked it off I'm in a better position to make any further attempts a bit smoother with a bit of luck.

Suggested Further Reading:-


Bowdrill From Scratch

Bowdrill (Edited Version)

Firewood Bowdrill Sets

Dave Watson Friction Fire 1-2-1

Jason Ingamells bowdrill 1-2-1

Bowdrill From Scratch

Monday, 7 August 2017

Fence Post Fire by Friction


I got a text a while ago from a Cub leader from my pack asking if I wanted any Cedar wood off cuts from some fence posts that he was putting in. Not so long ago I'd made a viable set out of some Silver Birch firewood so I said yes to see how the wood handles and if it gave me some bow drill sets then all well and good.

 I'd never used Cedar for fire by friction so there was no excuse not to right that. I also had some seasoned Lime that I was going to utilise but as I'd used it before the Cedar jumped the queue.


Well I say jumped the queue, the journey of discovery had to be put on ice for about three weeks due to the fact that I cracked a rib on a water slide during our traditional water night at cubs to end the Summer term, and as I was about to go on a special holiday I had to shelve it.

When I eventually started prepping the wood it was surprisingly easy to split and was a bit Lime like in density, but did have a habit of running off to one side and perhaps it was just me but cutting it seemed to create more than the odd potential splinter.


I wouldn't say that I'm the world's greatest carver of wood but I was pleased with my efforts on rounding a rectangular second of Cedar to form the drill which again had a handsome grain.


Whilst I knew the scent would be nice in my garage I have to report that the grain exceeded expectations. It was a good job that it was nice to look at as I felt a slight twinge in my dodgy rib so again I shelved it for a second time.


I had a session of applying pounded Comfrey to my rib and I was then able to get to the business stage of the bow drill set. The set smoked fairly quickly which was encouraging but it didn't go that dark in colour during the bedding in session and I needed to get the drill tip engaged too.


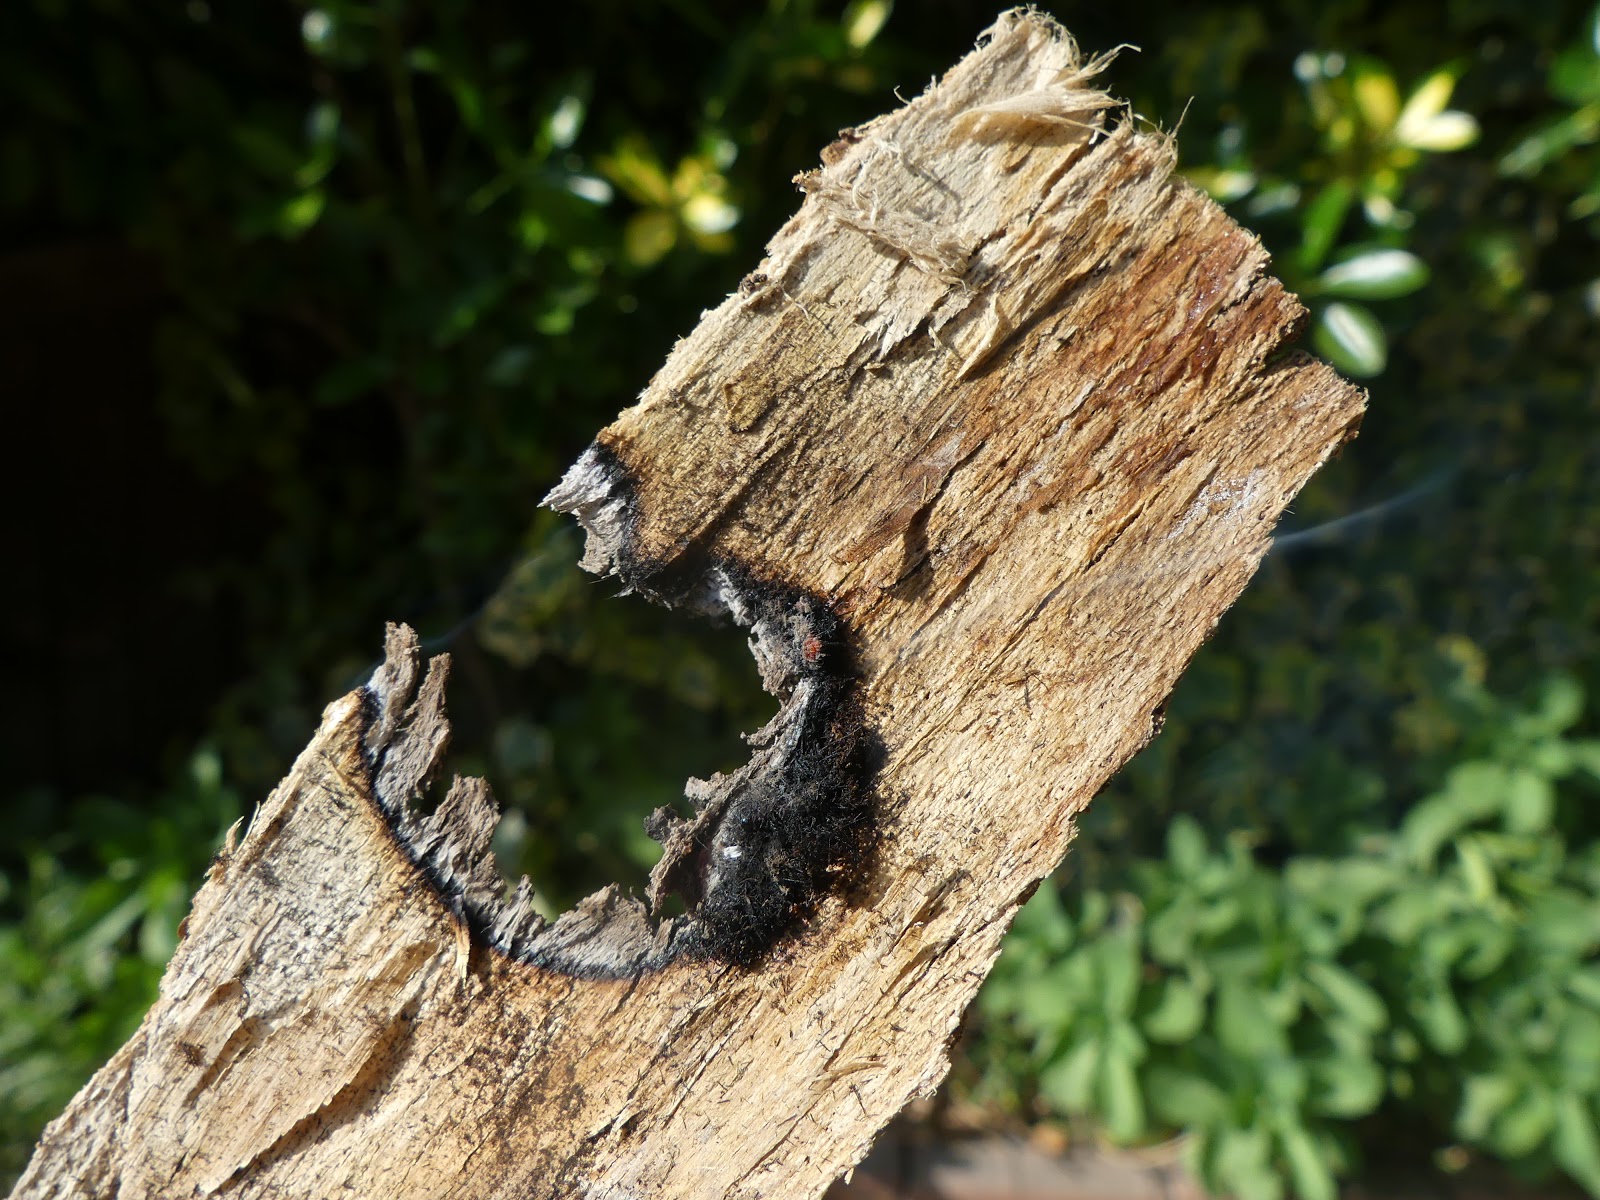
With the light depression colour and the softness of the wood I decided to do a slow and low session of bowing to warm it up. To my surprise the set started chunking out copious amounts of light coloured dust to the point where the notch seemed clogged up and I wondered if it was going to inhibit the ember development. The set really smoked and I was pleased to have a sustaining ember. Note the excess dust around the depression circumference and the light and dark colour of the original and ember material. The smell of the charred drill end was a curious one as it reminded me of somewhere between Christmas and curry powder!


I left the ember to develop and it coalesced into a sturdy one that eventually welded itself to the ember pan. When I create a new ember to record on my labour of love bow drill blog I drop it to see if it is still viable to use after doing so and it was-twice. The first time was on purpose and the wind took it a second time and whilst reduced in size it was still good to go. You can see that the depression did eventually darken.


When I carve a notch in a set to receive the charred dust I flare the bottom edge to make more space, this also helps protect an ember in inclement weather. Well I decided to go for a second attempt and with the dust production I carved the angles a little larger than usual.


As per the first ember it smoked a lot and produced a lot of dust which again is evident around the depression, and goes from chestnut to almost black in and around the ember. The afore mentioned wind was blowing on this coal and you can just see a little smoke ring!.The set queaked during the second attempt which I put down to a slightly smooth drill from the first go so I had to stop to rough up the two surfaces.


I mentioned earlier that the wood felt a bit like Lime in it's consistency, well with the two part attempt on the second ember you can clearly see just how much wear there is  and it goes some way to explaining the amount of dust, so a slow and low start is prudent. Note the splinter sticking up to the left of the set as mentioned before.

Suggested reading:-


Saturday, 13 May 2017

Fire Wood Bowdrills


My in-laws had a chimney fire last year and the whole episode has put them off a wood burner to the point where they've had a gas fire fitted as a replacement, but who would take all their logs off them, well me of course! I thought I'd lucked out on the first consignment that I had because I found some really impregnated fatwood in it. 


The latest batch arrived and as it was seasoned and dry I decided to prep it and stash it for later use. Most of it was either Lime or Silver Birch with the familiar birch bark in the background, and lime bark under my thumb. This gave me an idea to try and dig out any bits that I could utilise in a bowdrill set.

I've used Lime before and it's a really good wood but Silver Birch was one that I'd not got round to trying so why not make it doubly difficult and use firewood as my set?


The wood was of course going to be of a certain size and the drill was the biggest challenge, in fact I knew that it wouldn't be perfect even once I started working on it. The above picture is after it's had a rough shaping with an axe.


There was also a large knot at one end so I started shaping this to be the top hence the large tapered point, again roughly formed at this stage with a little axe work.


The baseboard was a little easier to sort but still needed a little work to get it to a stage where it didn't rock when placed on the ground. I only shaped one end to receive the drill as I wasn't going to be using the whole length.


And so my set was ready. The drill was ever-so-slightly oval with a very slight curve to it but I felt it was still usable...It was going to have to do! I grabbed a bow and it was the one that I used on my first bow drill from scratch in the woods trip. I used a laurel bearing block that I made when I saw Dave Watson for a friction fire 1-2-1 last year. As this was all happening in my back garden I grabbed the first leaf I could reach to lubricate the depression, and I had a faint whiff of Lavender for a while as I started.


The drill wasn't the best as predicted but was still serviceable and the set smoked quickly. I had a quick look at the powder and it was quite needle-like in shape.


I usually cut the fatter part of the notch out with a Swiss Army Knife saw, snap it out, and then finish with a blade. This removes a lot of meat fast bit then allows for a refined and controlled notch apex, if I'd progressed the saw cuts I would have been some way off the centre. 


I was bowing on a sunny/ cloudy day and typically the sun went behind a cloud and the wind picked up at this stage. I thought I'd made an ember but I was mistaken, despite the copious and very dark dust.


I made some adjustments and tightened the bow string a little and the second time saw me hit the jackpot. I wasn't convinced that the ember would sustain as it looked quite small but it persevered.


After a few minutes I tried tipping it onto the baseboard to see just how strong it was, I'd had it on the ember pan a while and it had adhered to/ started burning through it. As the baseboard was Lime it probably helped as the inner bark is good tinder.


That was pleasing to not only crack a new wood combination but to do so from a random load of fire wood. Whilst I was on a roll I decided to put the Lime through it's paces.


I couldn't find any Lime long enough for a drill so I resorted to an old and slightly thin Hazel drill that I'd consigned to my wood pile, as opposed to the slightly substandard Silver Birch one that I'd just used.


I purposely chose a piece of Lime that was slightly warped  just as an additional challenge but had integrity at one end, again I wasn't going to use all of it.


The Lime board did what Lime boards do and bed in really quickly, darkly and smoothly.


And a good ember soon followed. When I tidied the chopped wood away I found some superior Birch sections that I'll make a drill from and try with the Lime another time.


I also found what I think might be a pretty section of fruit wood and a nicely curved piece of Birch for a bit of future spoon carving. A quality afternoon, especially as I could now add another combination to my labour of love bow drill page.


Saturday, 5 November 2016

A Bowdrill From Scratch

Since 28th September 2008 when I first managed to get a bowdrill ember to flame I've been working at improving my technique which has included, amongst other things, 1-2-1 sessions with both Jason Ingamells and Dave Watson. I also started this blog  page  which not only includes a little how to section but also the wood combinations I've used with notes.


But I digress, the point of this page is to record the fact that I've never actually gone out on my own into a wood to create fire with a set I made in situ, the closest I've come thus far is on the afore mentioned Dave Watson 1-2-1 but of course I had him holding my hand. So I headed off to a permission to rectify this situation. I took my time and wondered around looking at trees on offer.

As I was out on a frosty but sunny November day with a little wind I wondered about going for my favourite Hazel and Lime combination but whilst I could see some seasoned Lime wood I couldn't reach it (same with some Lombardy Poplar, Sweet Chestnut and Aspen). I also saw some Sycamore/ Norwegian Maple which I find a bit hit and miss, Buddliea which I isn't good and Elder which was a possibility if I could find some Clematis wood for a baseboard. 


As I was looking for wood I had an eye on tinder too. I was able to selectively collect grass in the sunny nooks and crannies and stick it my pocket to dry a little. I also had some 'Old Man's Beard' (Clematis) bark and flowers and a lucky find of some Crampball fungus which makes a great tinder ball extender.


I wanted this to be as 'on the spot' as possible but I did bring paracord in the form of my bootlaces, an unused bearing block from my Dave Watson 1-2-1 as a) I didn't want to cut fresh wood just for that and b) Just in case I couldn't find any other suitable fallen or wet wood, and a little extra tinder just in case I ran out of time to make up a full bundle on the day.


But as it happened I totally lucked out on both the bearing block and bow. I found a freshly fallen Ash bough that had conveniently snapped a section in half which meant it needed minimal work to tidy it up, and the bow presented itself in the form of a broken Hazel length.


At the risk over over-mentioning my Dave Watson day he showed me how to prep fresh wood (Hazel as it goes) into a usable bow so I cut some beaked notches and strung it up first. Not sure why I didn't cut it on the chiseled end but anyway. Whilst it wasn't a deal breaker I should have bent and secured the Hazel uncut because once I cut it to size it wasn't quite as biddable and whilst I got a curve it was fairly shallow.


On the drill and base front I found a perfect piece of Willow for the baseboard along with some Hazel and Willow drills. I was happy with the base and just flattened the bottom and thinned one end, but decided to have options on the drills so I had a plan B if needed. Upon further inspection one of the Hazel drills was a little punky and one had heart shaped spalting running through it.


I eventually discarded the punky Hazel drill and decided to use the 'heart' drill first, and once the set was finished off with an ember pan sliver made from carving the base I was ready to get going.


It had rained heavily the previous day and as it was a cold frosty start to the morning I decided to do an extended slow and low bedding in of the depression to not only create a decent depression but to also warm up the base/ drill and hopefully help drive off any moisture, especially as Willow is a little hydrophilic in nature. I was buoyed up as the set bedded in perfectly on the first go so without further ado I cut the notch ready for a bit of ember action.


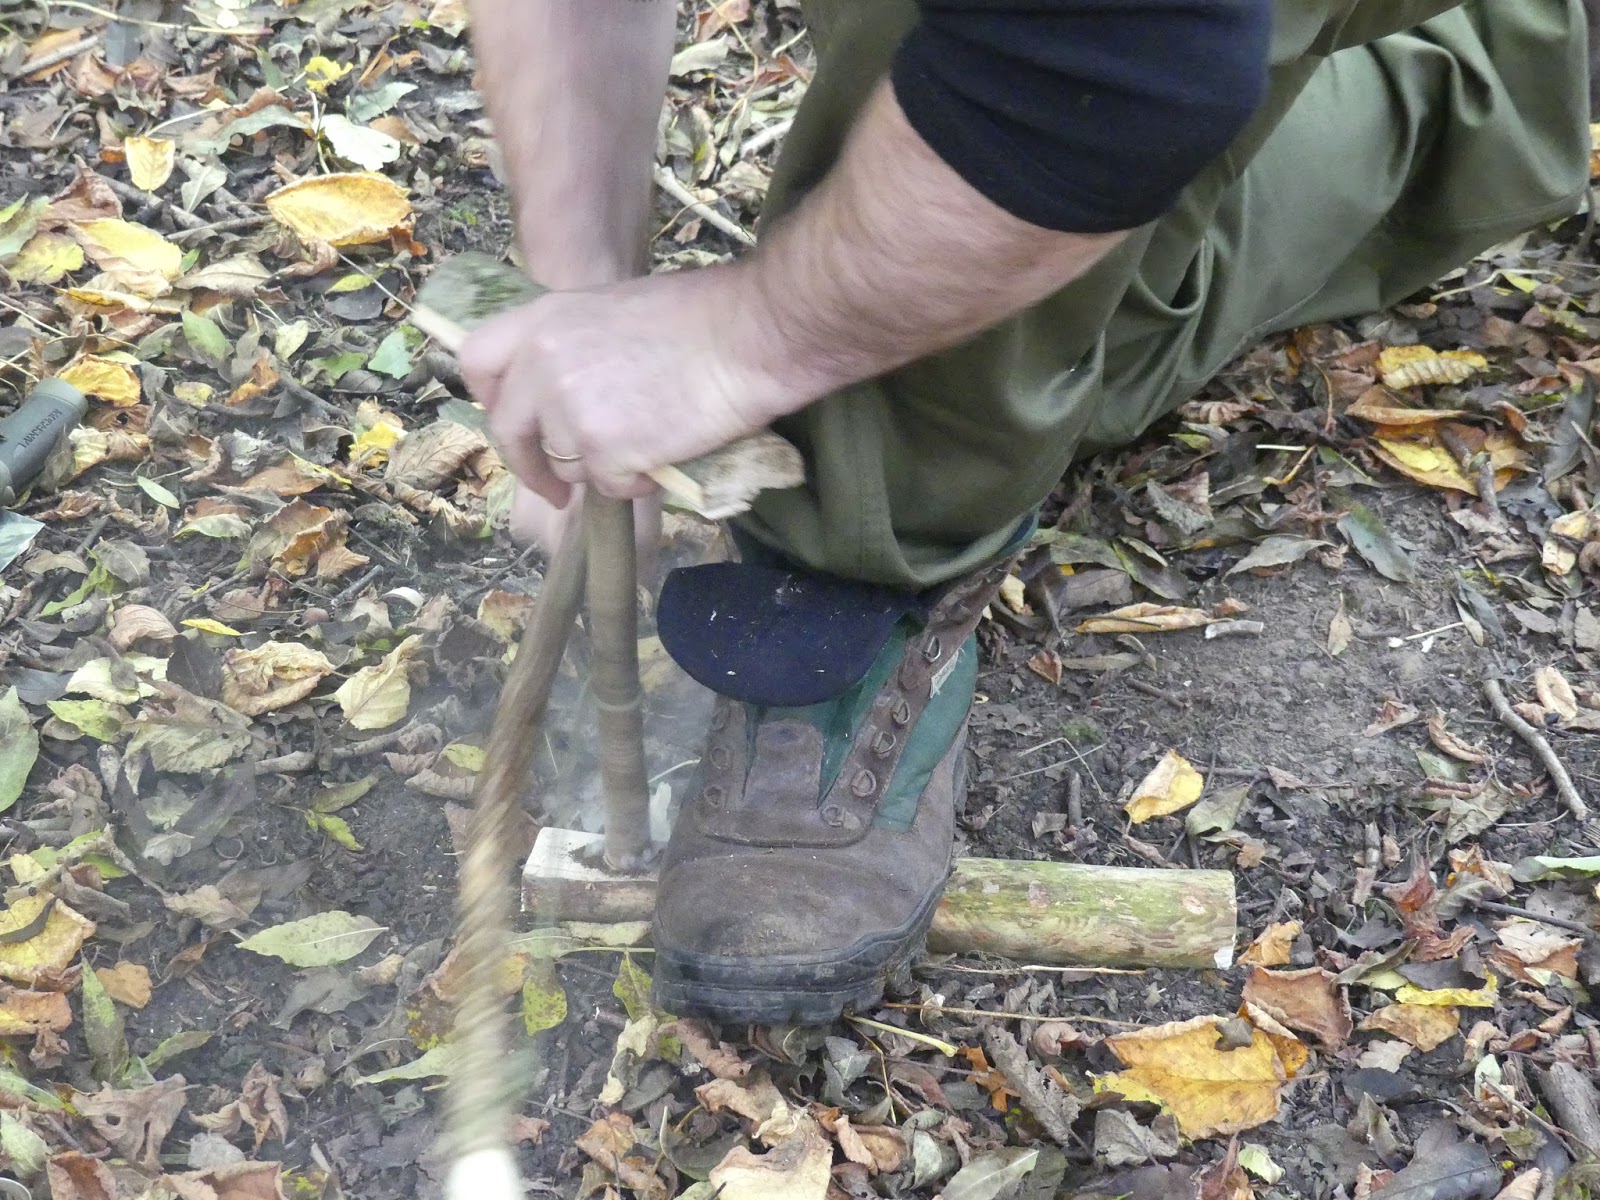
For some reason the set started to squeak but nevertheless it pumped out dust quite quickly but I only managed an ember on go three as the first two were close but didn't sustain. I also tweaked the bow string tension as I was finding that the paracord wasn't gripping the drill as well as I expected. Note the boot with no lace, it's no accident that I chose my left boot as it would be flat on the baseboard whereas the right foot is bent and if I'd chosen this one my foot would be trying to pop out.  


And that was mission accomplished...Nearly. I had the ember but at this moment I had a deja vu moment. Back in 2008 when I first succeeded I had three goes with smoke and dust but no ember, go four produced an ember but I messed up at the tinder bundle stage, and I enjoyed success on go five.

With this thought I decided to save the tinder bundle, discard the coal and use the Willow drill which is perfectly in keeping with my deja vu moment as it's actually the combination that I succeeded with in the first place.
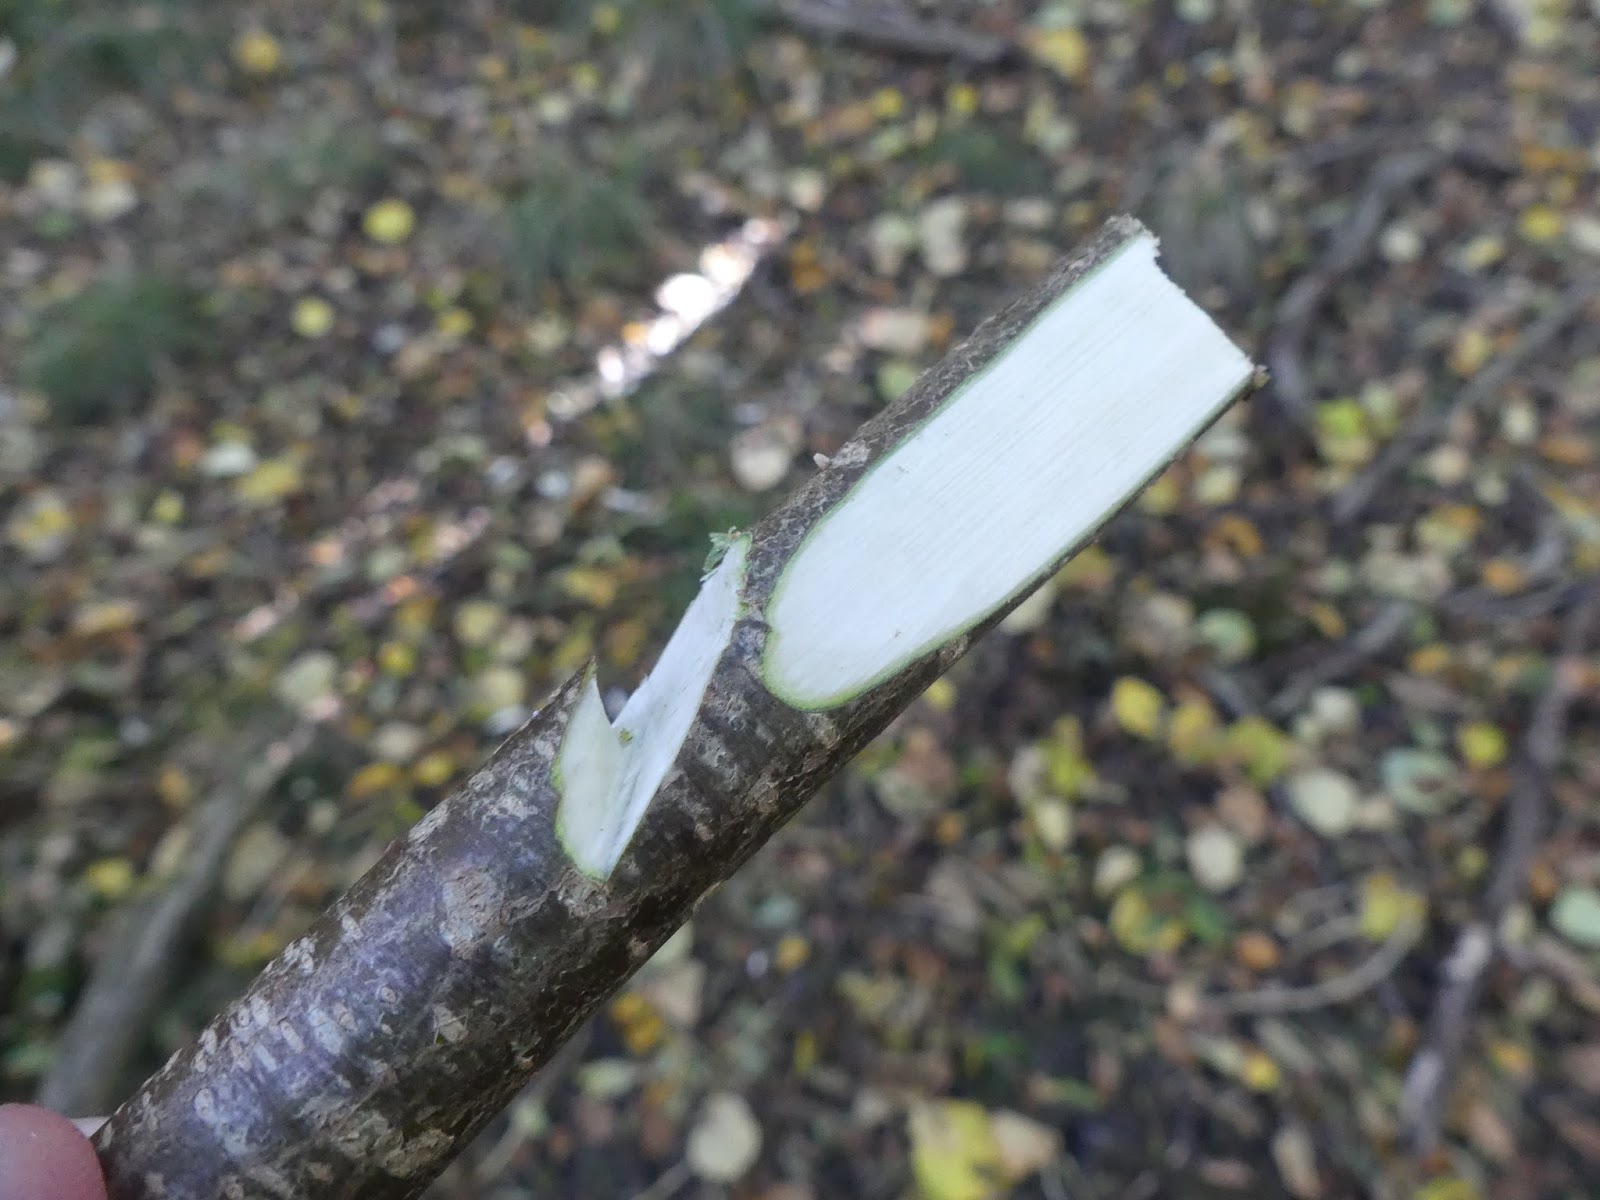

The Hazel drill was good to go once I'd topped and tailed it but the Willow drill needed some meat cutting off. It produced a really smooth and quick ember but looking back at the above picture I could have done with trimming the edges of the length to make it spin a little smoother but to be fair I was aware that I was running out of time.


With time in mind I did use the extra tinder that I'd brought along because it would have taken me more time than I had to get a decent amount. I did however plant what I'd foraged (about half the bundle) in the middle so that it would be the architect of any successful pyromania. In the end the foraged goodies were grass, buffed Clematis bark and seed heads, Silver Birch bark, a piece of scraped Crampball and a little Willowherb seed just for good measure.


Once I'd achieved flames the bundle went from fairly smokey (the foraged tinder), to clear (burning my drier tinder as I inverted the bundle), and back to fairly smokey (as I popped it the right way up on the ground). In fact there is a small bit of my introduced tinder in the top of the picture burning without smoke, this in my mind proved that the ignition was with the foraged tinder.


All in all I was pleased but didn't time myself, OK I did I was out three-and-a-quarter hours however not all my time was focused on the bowdrill with  a glorious November morning to experience too, it was quite a distraction. So with a win it was time to do some minimal putting right of the now hallowed ground รก la leave no trace and to re-thread my bootlace which I'll then look to change to slightly more grippy paracord. This experience has only taken a mere 2563 days to chalk up since my first bowdrill success...All good things come to those who wait I guess.