

During a paid work sabbatical that I had in 2016 I did half a dozen afternoon courses at World of Bushcraft's now closed Bedford centre and for the Christmas wreath making session (predictably in December) a wallpaper stripper powered wood steamer was used to shape the Hazel frame.
I vowed to make myself one at some stage in the future because there are several projects in Bushcraft and Survival Skills magazine that I fancied having a crack at. I recently took home some waste wood from work and the building commenced.


I started by tidying up the wood as there were pieces of cut down cross beams still nailed on that needed removing. Once done I levelled up the pieces at one end and proceeded to screw together a base and two sides.

The World of Bushcraft one was about 6" x 6" but my one was going to have a lot smaller internal diameter but for my needs it will be fine.

I decided not to screw the lid on between the two sides as the minimalist interior may well have been just a little too small, so I nailed two pieces of glass beading (the wood that holds glass in doors) along the edge so that the top fits on like a lid. I left the beading shy of each end to fit the two ends on.
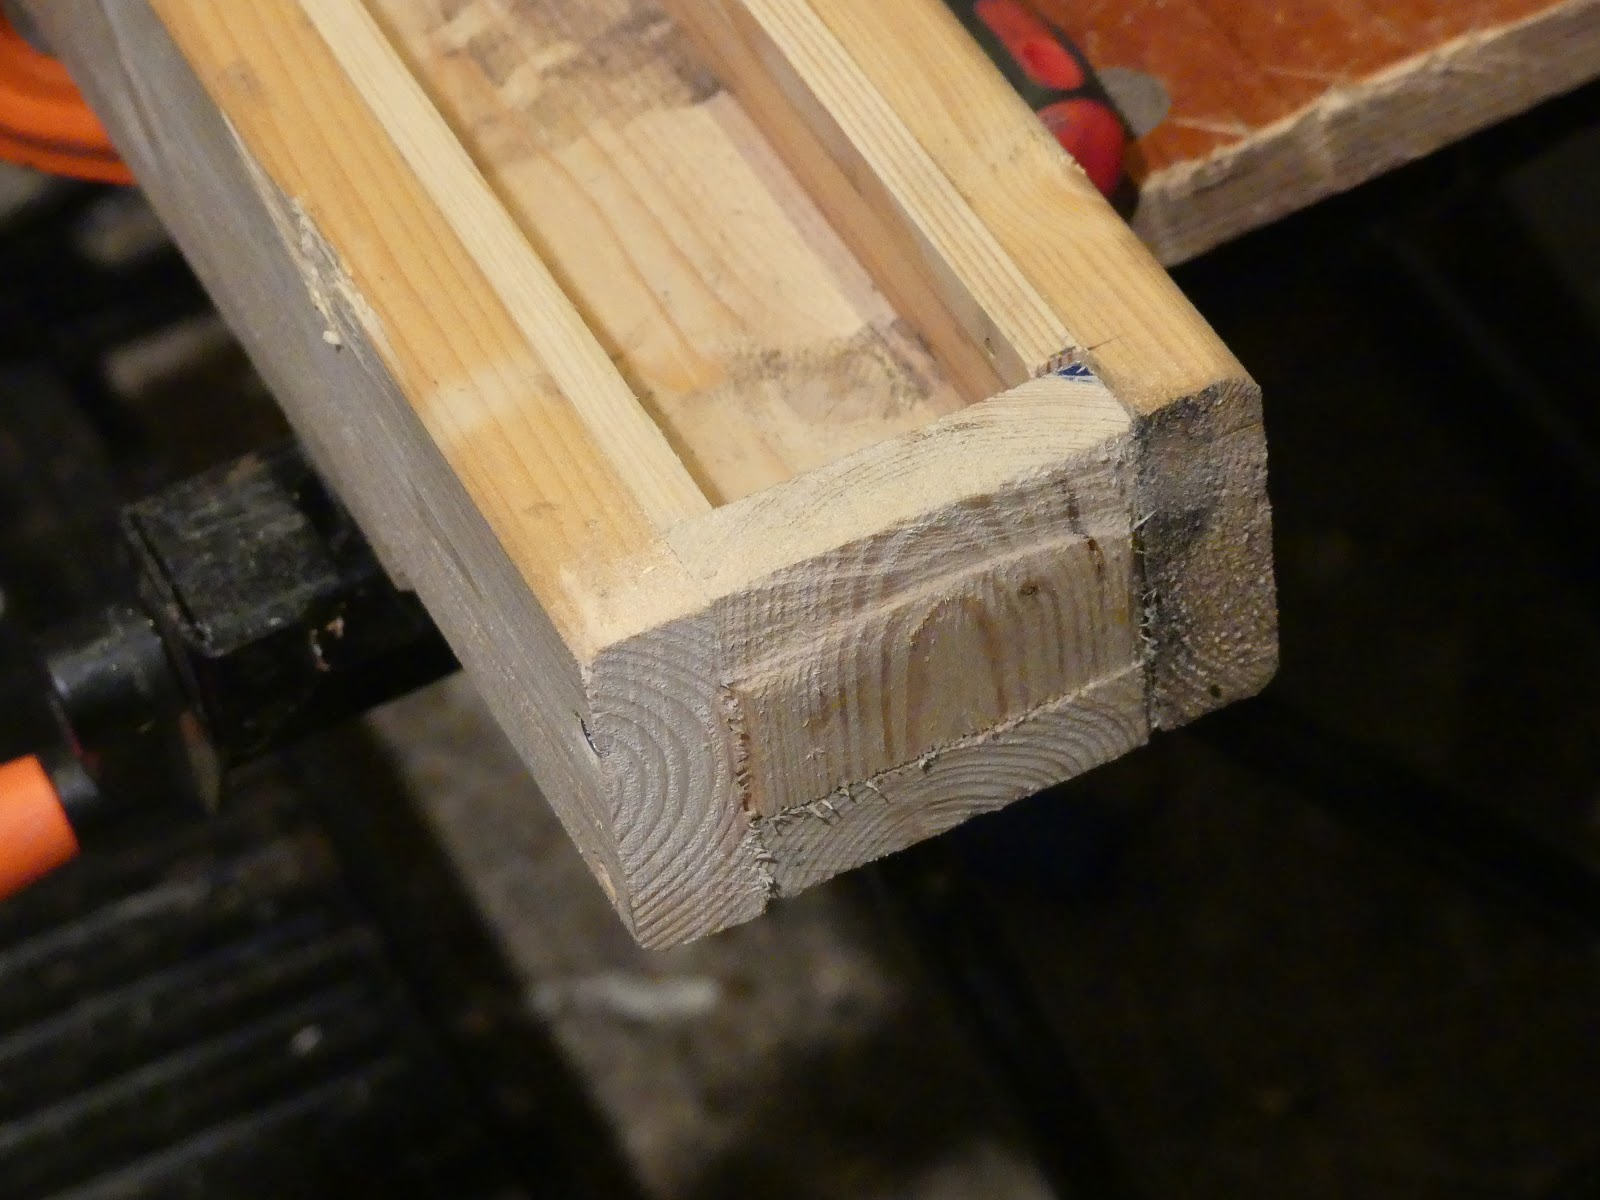
This is the fixed end which I simply screwed in. I expected this low grade wood to leak steam from somewhere when I'd finished but if not I would retrospectively drill some steam vents in this end. The lid will be screwed on flush to the edge.

I looked at putting some beading along the base to raise the wood up and therefore come into more contact with the steam but as previously mentioned the internal space was at a premium. If I ever build a larger mk II I would consider this. The lid was secured by screwing it into the beading.

This is the opposite to the fixed end and is going to be both hinged and the entry point for the steam. Note that the lid finishes short of the edge to accommodate it.

And this is the hinged lid before being secured. I initially had plans to use a small section of plastic conduit but it turned out to be a little too small. This blue fixing is the middle from a roll of packing string and it turned out to be absolutely perfect. I'd intended for most of the blue fixing to be internal but with it drilled into the middle it caught on the frame as the door opened so I had to push most of it externally. As with the world of Bushcraft model mine was to be powered by a wallpaper stripper too.

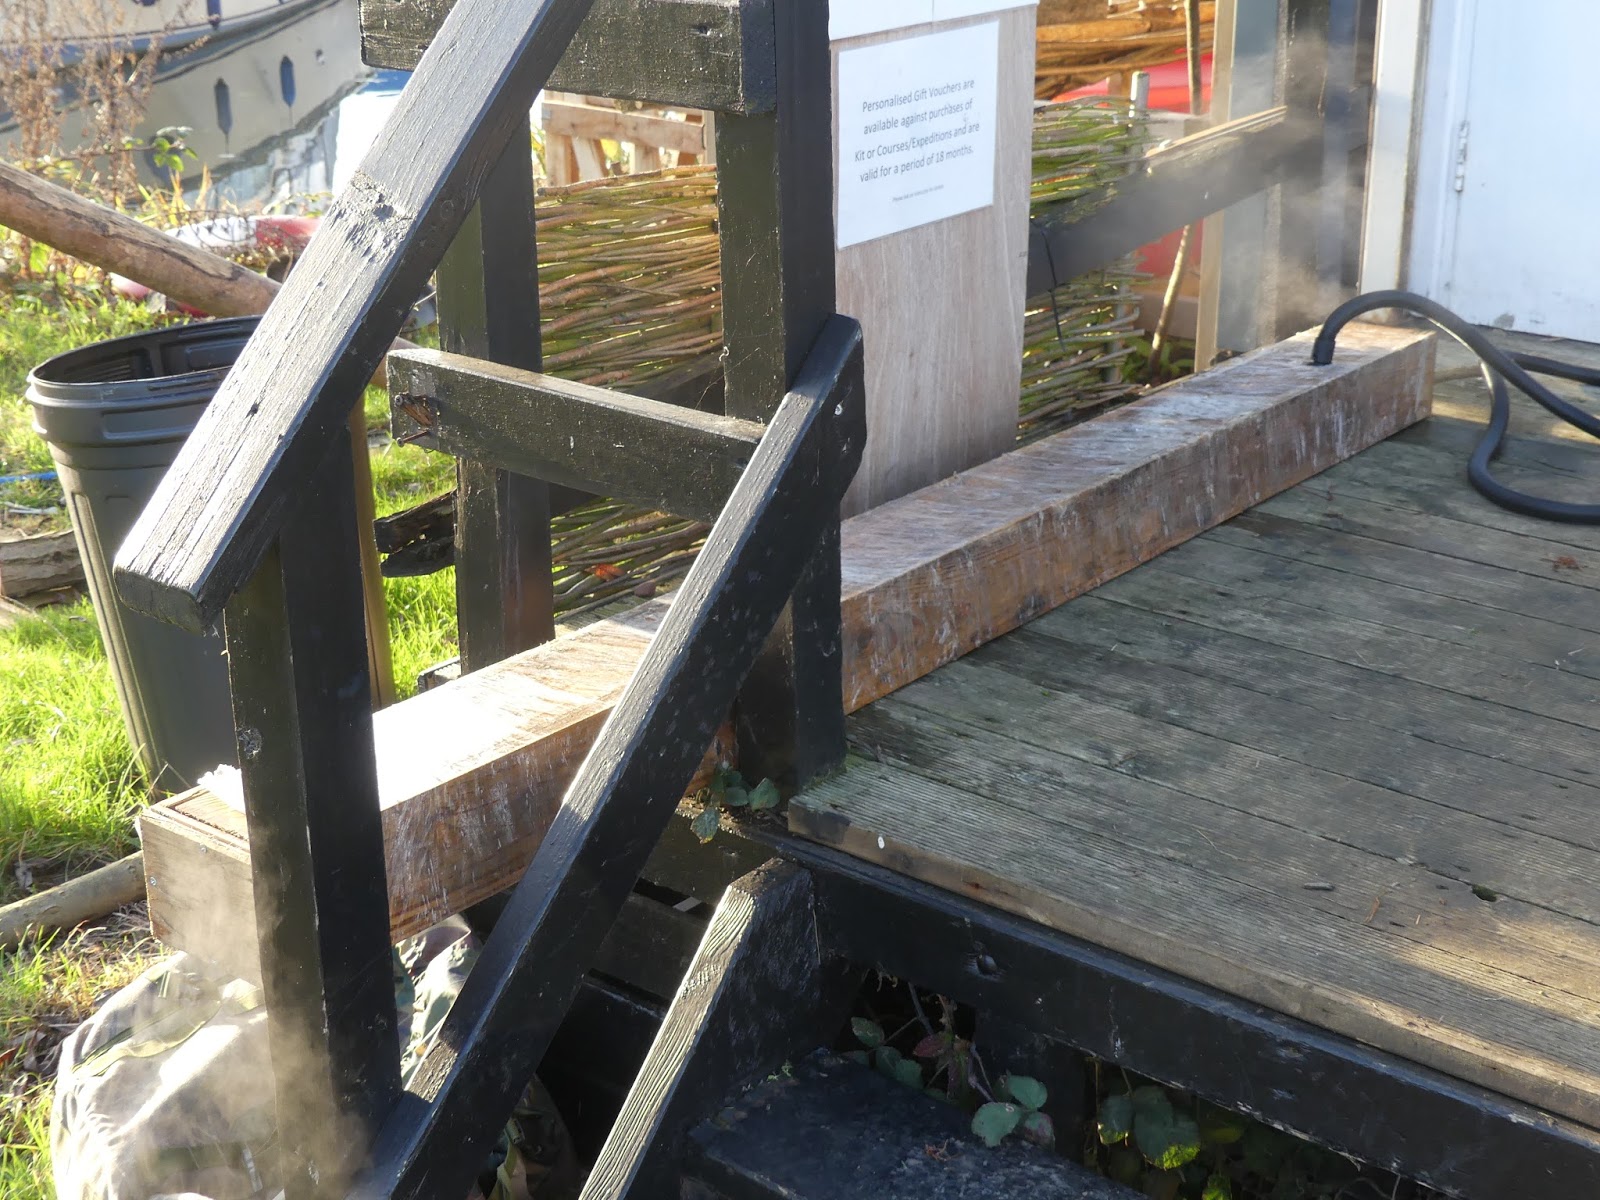
So that was the steamer built and ready to go. I have a path in my back garden that is sloped to help the steam travel up the end so I decided not to put any stands on it to drain water. I did however place it on the beading off cuts on it's first outing to see where the water drained from. I sourced a fairly bendy length of Hazel for the test run.


I fired up the wallpaper stripper and watched for steam escaping. There was some seepage at the far end through the gap between the beading and the side. It wasn't a lot so I thought steady as we go. The water was running out under the door so it won't need any drip holes drilling. I left it running for around an hour which is the rough rule of thumb per inch of thickness of the wood being steamed.

And out it came, hot and freshly steamed. I straightened the kinks out along it's length and then set about bending the length bit by bit. I was aware of the time I'd spent straightening it so I was careful not to kink it when bending as it cooled off.

Despite this being a test I was fairly pleased with the result. Not only is the steamer functioning but I have a project in mind for this test piece. It'll need trimming up a little further down the line but that's another day.

Snagging.
If I do nothing more to the steamer's structure it will work just fine. here was a little warping in a couple of small sections of the beading. I guess I can use some sealant, put in some extra nails or just leave it.
It occurred to me just before I removed the Hazel that the blue pipe fixing will need to be cut or over a step as it's too long to allow the door to open out flat. I can either live with it, cut the fixing down (but perhaps have issues with the pipe staying in) or cut another door and have the steam hole in the side.
No comments:
Post a Comment