Saturday, 14 March 2015

Woodlife Trails taster day

With one course already delivered this year, Woodlife Trails held an 'open day' for the general public to swing by and get a taste of what's on offer.


With the posters up and the kettle on we sat around under the chute and waited for the general public to swing by. We had one guy who cycled for two hours to see what Woodlife Trails were all about but the morning was a bit slow to warm up visitor wise.

I volunteered to head off to the car park to direct some punters our way, but got delayed because Richard's slow risen Dutch oven bread was happening and is worth a small sub section of pictures... 


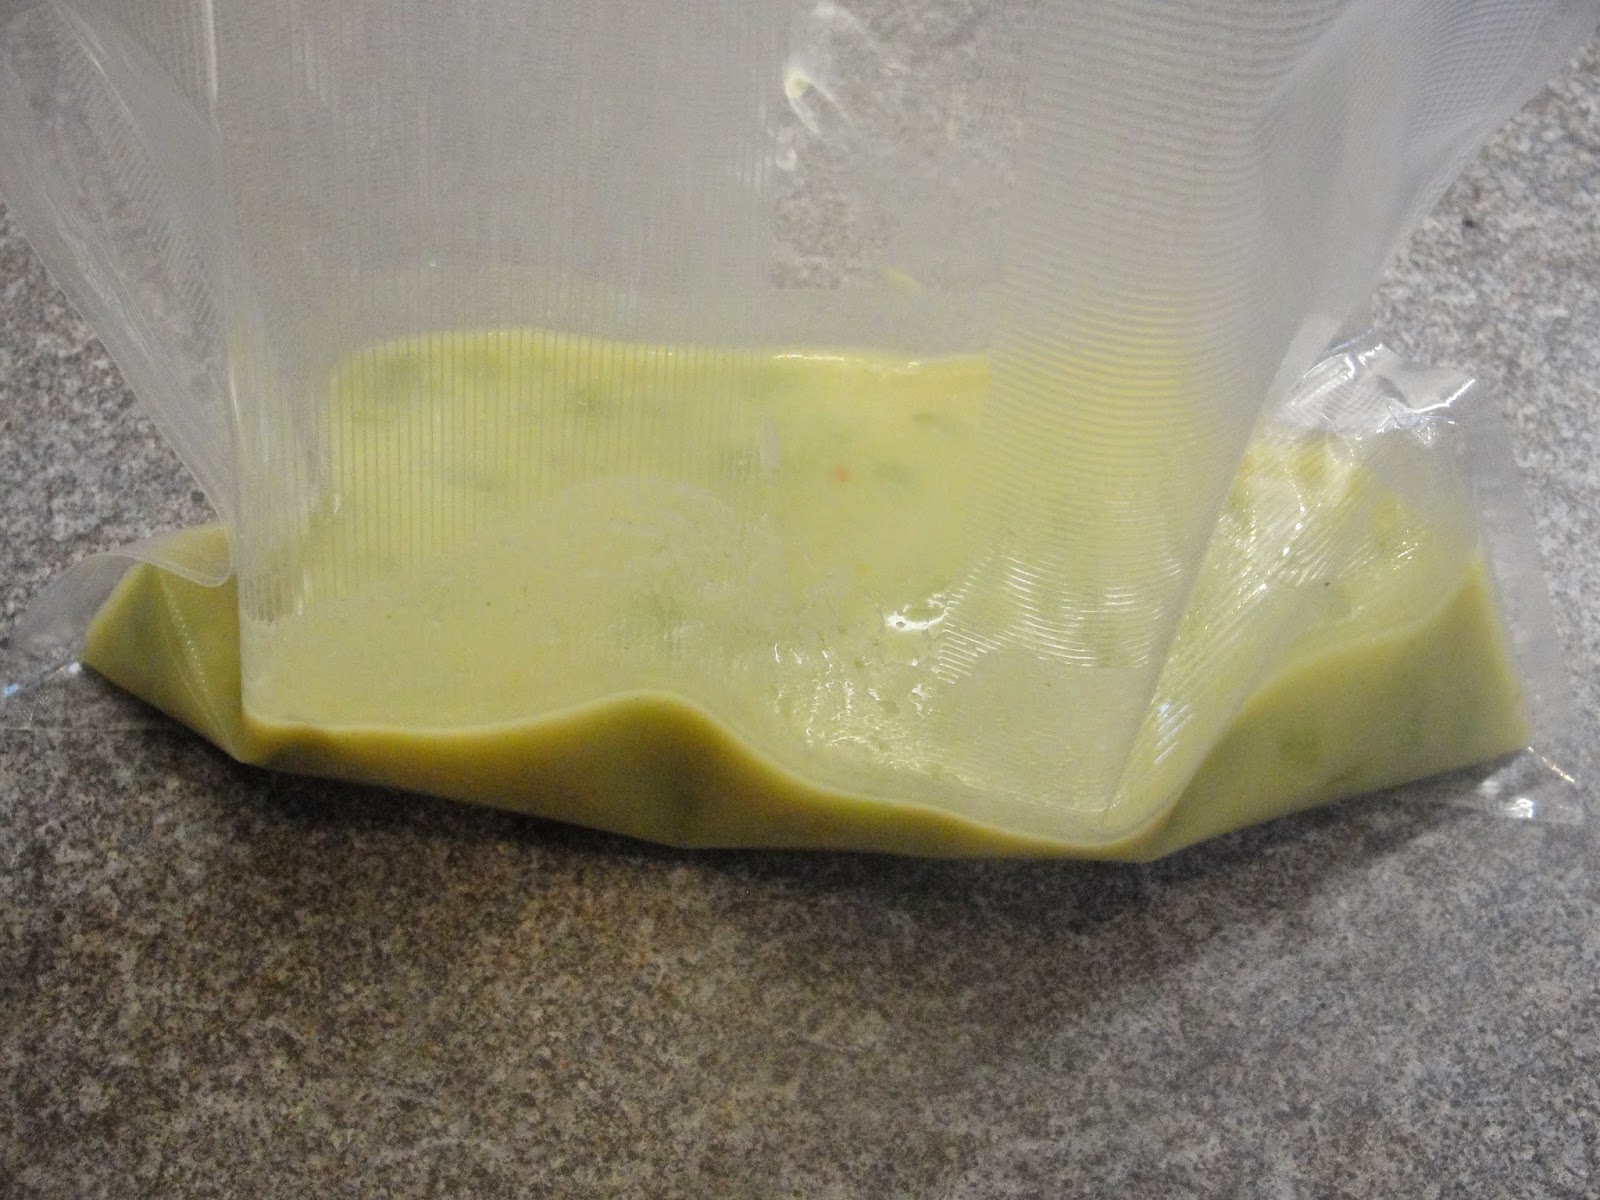
A liberal base covering of semolina in a hot Dutchie, followed by the slow risen dough in the centre. 


Just over twenty minutes later it was time to take it out...Only for it to have to sit to develop it's brioche coloured crust...Then we got to taste it and then I headed off to meet and greet.


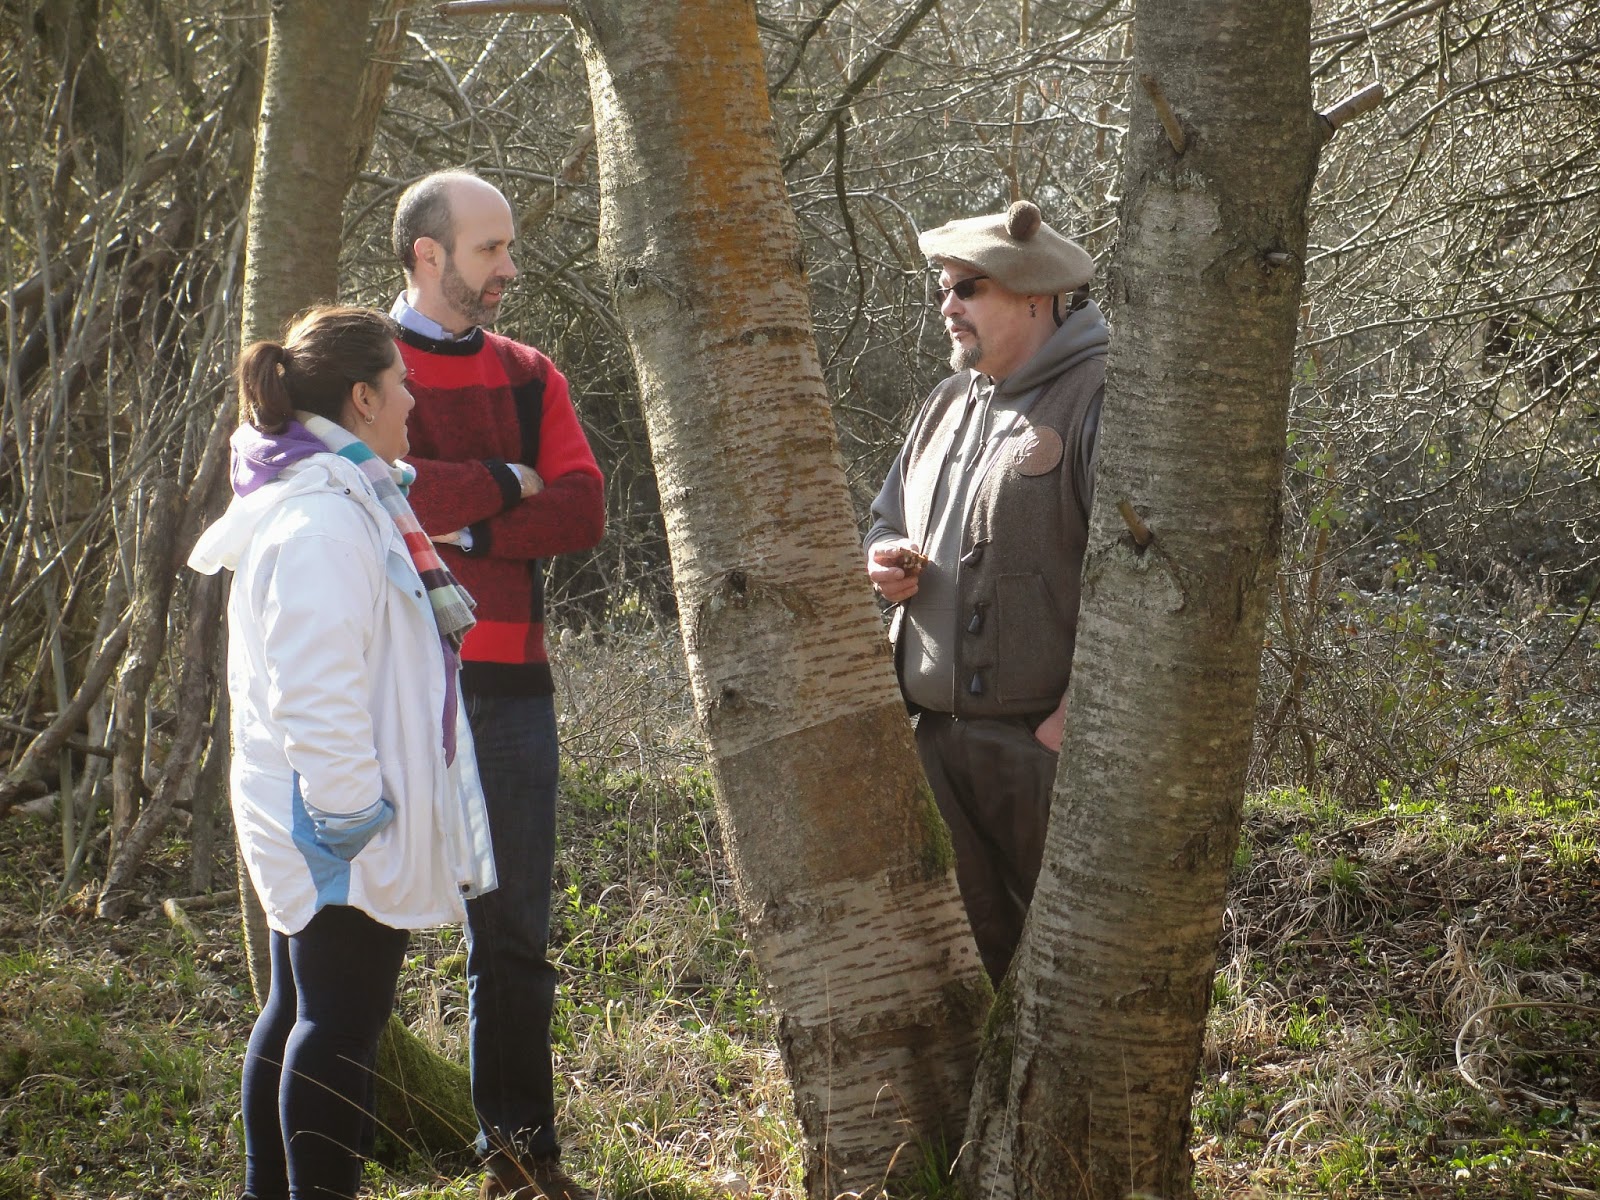
I'd only been walking for about three minutes before I noticed a tarp flapping through the trees. I thought if individuals were playing around with this sort of kit that they'd be up for a visit to the camp...I was right. These two chaps had traveled from London with their families and said that they'd be over once they had all met up. I offered to take one over to show them the location and then return him to wait for the other family members which I did.

The two guys spoke with a foreign accent and I know he liked what he saw because he spoke in their mother tongue to his friend with wide eyes, moving hands and an animated tone. Their family had arrived from the car and as I walked they explained the camp to the kids because I heard them cheer. It was a good feeling and they stayed all afternoon trying stuff.


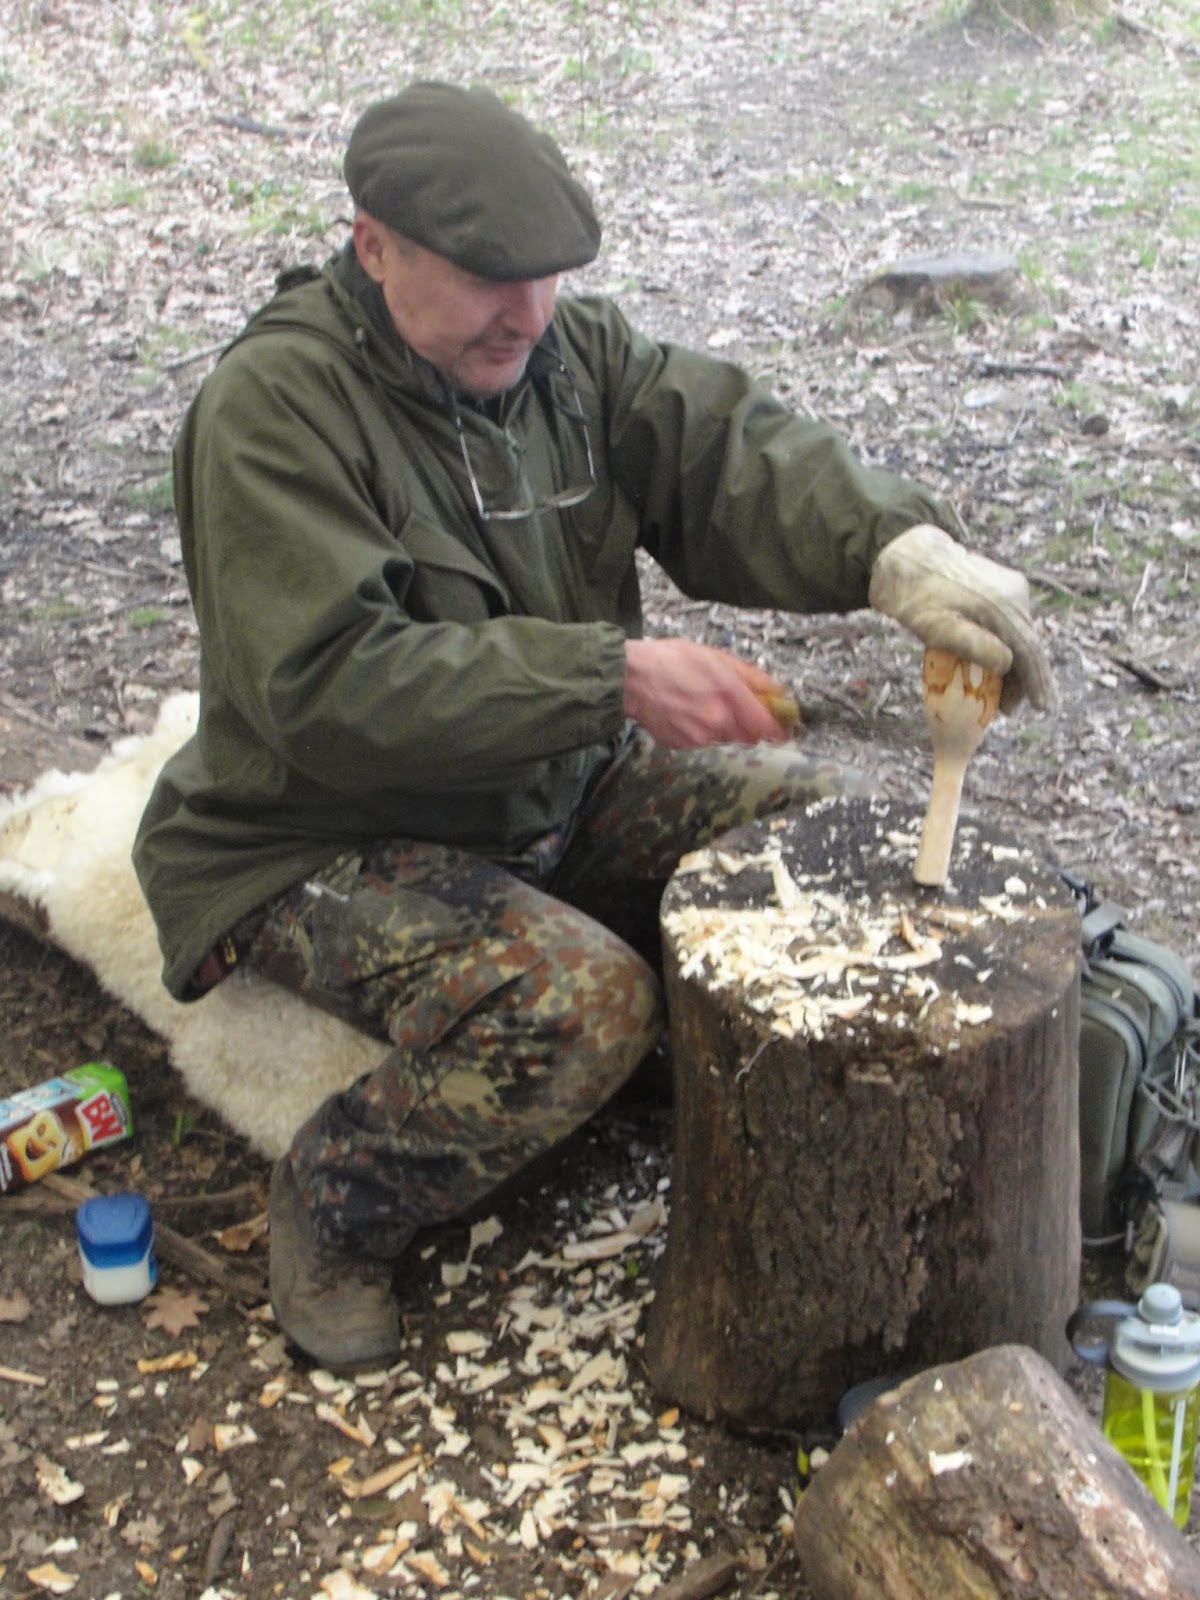
So up went their tarp with some instruction, spoons got carved, kit came out, conversations were had... 


I'd bought along a couple of bannock doughs (as I usually do) and knocked out a curried one (heavy on the cardamon seed) and mixed with natural yogurt which I'd planned to have with a pouched curry, and a more traditional one with sultanas in. I handed most of them around the team and the punters to have a try.


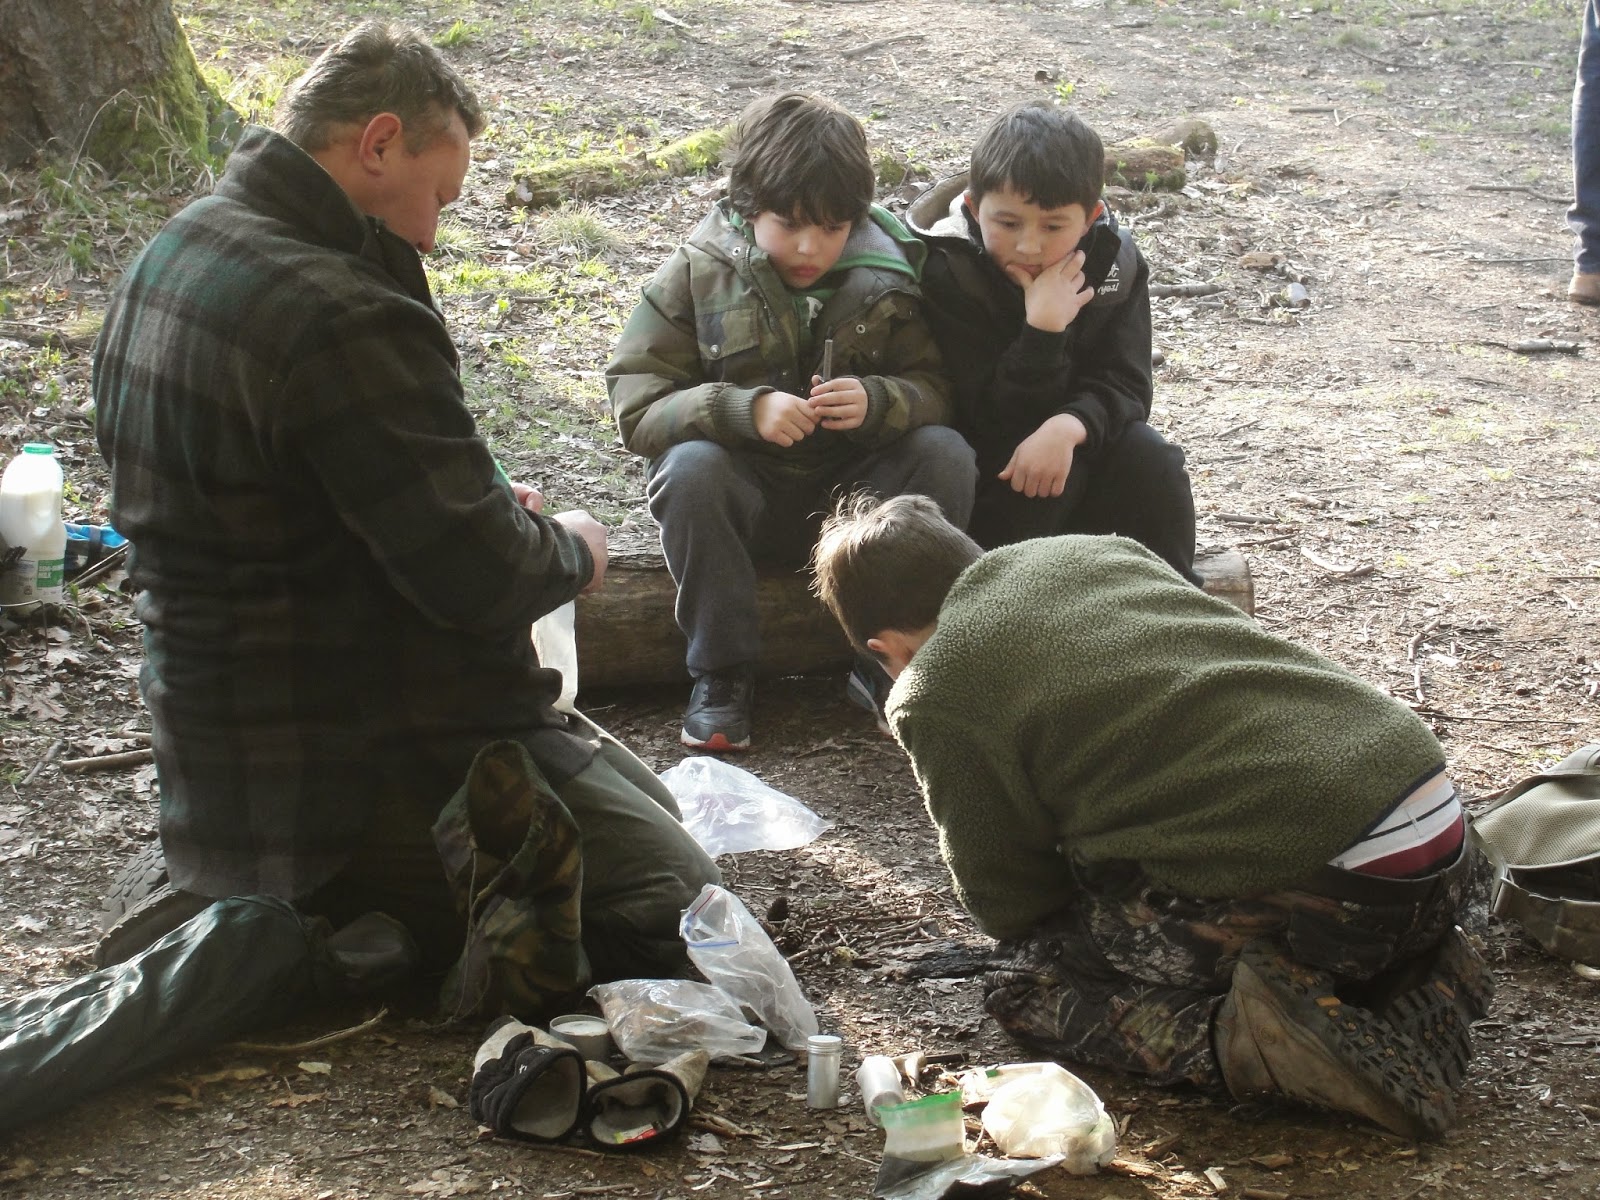
And more kit, technique and talk, and then more conversation and a quick coffee break...


Before JP got his bow drill set out for the waiting audience. A winner every time! I had a tarp and pole plus paracord in a bag to demo a tarp tent and let any visitors make a paracord something or other...Not really needed this time as there was plenty going on (no tracking walks needed either). Details of forthcoming course can be found on the Woodlife Trails website here. Several wild camps are held in conjunction with the National Trust and this was the weekend recommended to most of the visitors and can be found on the NT website.


And so that they don't go to waste, I've included a small gallery of unused shots below...


Saturday, 21 February 2015

Tower Fire For a Brew

I started a Bushcraft and Nature social group on the Scouting forum called Escouts some years ago and  despite a healthy three figure membership it was by and large just me posting...almost my own blog, hence the reason I am now putting my efforts into this one instead!

Early on I tried to get some content on there double quick, and one of the earliest things that I put on there was a tower fire. I seem to recall Bear Grylls making one on an episode of Born Survivor.


You'll need to start by selecting your green sticks about a foot or so long, this is ash (from this blog page...The gift that keeps on giving) and about the same diameter as a ten pence coin. I've propped up the Bahco folding saw for scale. The ground was soft and it was fairly easy to baton the four sticks in (about one and a half to two inches apart) as shown. If the ground is harder it may be worth shaving the edge off the circumference of one end of each column to prevent splitting. 


Before you do anything else, check that the vessel you wish to boil water in fits safely and that the sticks are level. Next the spaces between the columns need filling with small stick fuel on top of some birch bark and dry bracken or similar. As the ground was wet I placed a few very small sticks flat at the bottom to lift the fuel away from the moisture and mainly placed the fuel at ninety degrees with the odd diagonal layer. 


Once the space is all loaded to the top, place your vessel on the top and light the tinder, preferably on more than one side. The flames soon spread and the only time they are a little less effective is if the wind is strong because the flames blow sideways, as opposed to up the column. 


As a rough timing the steaming picture (above left) was achieved after a little over five minutes but of course the weather, fuel, liquid volume, height etc will effect the timings. Tea was achieved a short time after that with a rolling boil and yes, I've transferred it to the plastic equivalent of the metal Crusader cup so that I retain some lips after drinking the tea!


I had planned to pull the columns out straight after a brew was achieved to see how much integrity they had left in them, I decided instead to see how long the structure stayed viable and I'd estimate around twenty minutes tops with the wood used before the final column collapsed which is why it's only really suitable for a brew and that you need to keep eyes on when using one.


Monday, 16 February 2015

Andrew James vacuum sealer review/ uses

Not so long ago I fulfilled a desire to buy a food dehydrator...It soon became apparent to me that I needed a vacuum sealer as it's playmate, so I purchased this Andrew James model. Like the dehydrator it is at the budget end of the market but it has ticked all the boxes I needed it to. 


It comes with a roll of bags but I decided to buy some extra in the form of some different sized bags and a roll, which is essentially a hollow tube that you seal to size.


The lid is opened by pushing two buttons on either side of the machine. The machine lid is  closed properly when both buttons make a definite clicking sound. 


If a bag is too big for purpose it can be cut and resealed. The edge to be sealed is just put inside the lid, the lid closed down and then the Seal Only button (on the top of the machine) is pushed. It seals the bag edge silently and it's then removed when the light goes out. The tube version is simply cut and sealed at the bottom to form a bag. Easy. 


Once your bag is sorted and filled it's time to seal it. A section bag around an inch or so needs to be left unfilled at the top because the edge goes a bit further into the machine, level with the vent shown in the above left hand side picture. The lid won't shut properly if the food is too high in the bag. As before, click the lid down and push the Vacuum Seal button on the top near the Seal Only button.

The machine makes more than a little noise when the vacuum is working and it's satisfying to see and hear the bag crickle as the air is sucked out. The tone of the noise changes slightly as the process nears it's end and when the seal light goes out it's done. Sometimes the bag doesn't shrink so there's a Cancel button on the top inbetween the other two buttons for this to be halted before the seal button illuminates. 


This device is useful for those heading out on bushcraft adventures; jerky, fruit leather, dried fruit and vegetables (the pre cooked) potatoes above right are out and about at Gilwell and got married with a steak.


The bags are quite robust so I find that making a small incision in an unsealed edge helps if out and about with a snack on a walk etc (mango in this instance). It makes tearing it open really effortless. 


It is possible to mnake small portion size bags of pretty much everything you may need when camping. The above picture (from L-R), HP sauce, dessert wine(!) and golden syrup...


I have found that if you take a length of the vacuum bag roll ( or an 'A4' bag and snip the sealed end off) you can make a two compartment bag. Simply push the bag til the top is up and over the switches on top and the halfway point is aligned with the sealing strip. Close the lid and seal (the excess will stick out of the top still).


This will give you two seperate pouches sealed together so two different things can be sealed in. The example above is Chinese chicken and potatoes to take out and about as a complete 'boil in the bag meal.


Liquids are a different proposition to solids and need to be frozen first. I put the liquid in a bowl, slide it into the bag and then carefully tip it out whilst holding the bag upright, this makes for clean sides.


 This is Alexanders soup being sealed. It is being pictured because it was pretty much, but not 100% frozen. You can see at the top of the bag that the small percentage of not-quite-frozen liquid had been encouraged to try and get out the top of the bag by the vacuuming process so it was a close call. Although this machine is a budget model I have no complaints and I really should get round to leaving a review.


I grated some horseradish root to have with some roast beef and to torture my family with the aroma! The spare shavings were dehydrated for around three hours at 40 degrees and then ground into a powder with a mortar and pestle.


My eldest son was going on a school field trip and I couldn't find a packed lunch ice block. I froze a 1 centimetre depth of water in a tupperware container, removed it in lukewarm water and then sealed it as an impromptu ice block.


If you are away on a more conventional stay somewhere it is very easy to pouch up things like washing machine liquid/ conditioner, sun block etc without the need to take large and heavy bottles.